MindStorms and activities in Design &
Technology
[09-03-2003]
The Lego MindStorms equipment revolves around the RCX brick (con trol box).
Featuring three inputs and outputs, an infra red link to a computer system, an
LCD screen, and
five individual program slots. The RCX offers tremendous opportunities for
activities in Design and Technology in KS 2 and above. Projects could include
the use of some of the 700+ parts supplied with the kit or as in the examples
featured below, low tech projects can be built from wood, card and plastic and
parts cannibalised from broken toys.
Project 1
- A Robot
Vehicle
QCA Practical Task - DT/IT
5E/6C
To assemble components to make
working models. As a first step to lead them into the control interface, wire
the robot to a battery pack and steer by activating the motors
independently.
Design brief
Using the RCX and software, wood strip, cardboard, two
standard Lego motors and
wheels, sketch out a design for a vehicle which can be steered through a
maze drawn out on a sheet of wallpaper.
Example solution
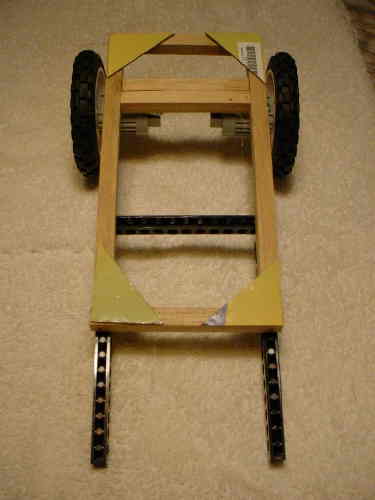
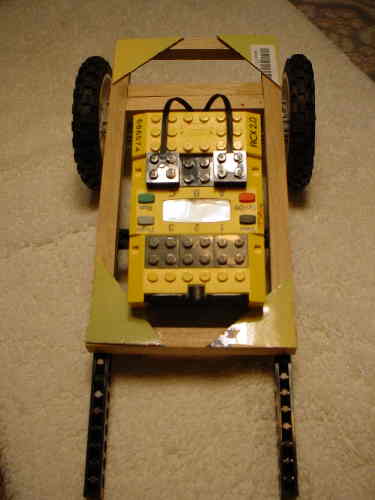
A simple framework was constructed
from wood strip and hot glued joints. Corner joints were strengthened with
cardboard gusset plates. A Lego strip hot glued to the framework mounted
two standard Lego motors with wheels (not from the MindStorms kit). The vehicle
runs on two skids - two Lego strips hot glued to the framework.
Important - This vehicle has
no gearboxes so in compensation, large Lego wheels are used. Additionally, in
the Robotics Invention Software, use the Set Power option in Small
Blocks to reduce the voltage/speed.
Extension work (QCA 6C) - switched
sensor
Parts required: Lever operated
microswitch, OR use switch assembly from the MindStorms kit
Add a switched input which allows the
vehicle to respond to objects in its path.
Gifted and Talented children
Pupils could add additional sensors
which allow the vehicle to better explore its environment.
Wood strip frame and
Lego
parts
Lego front
'skids'
Finished product with RCX

Model constructed from 'found'
materials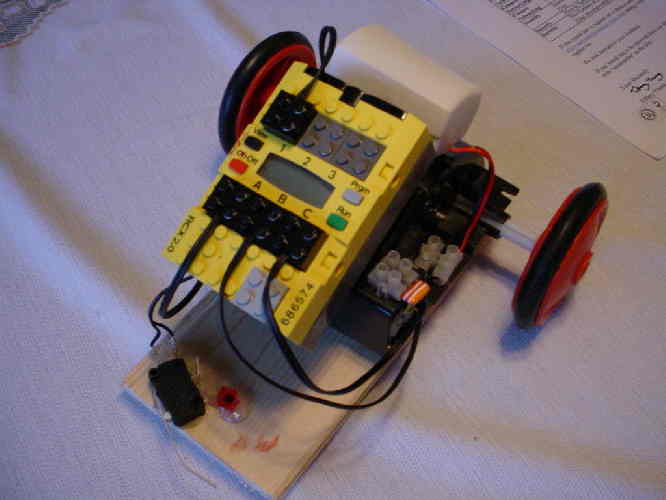
The car opposite uses
a dual motor and gearbox cannibalised from an old toy. The RCX is clipped
onto two Lego strips hot glued to the motor assembly. A micro switch (40p)on the
front detects any collisions or objects, and on the back is mounted a low voltage
horn. Note no front wheels! The buggy skids on a cut down pen pushed into a
drilled hole.

Project
2 - LIGHTHOUSE
QCA Scheme of Work IT Unit 6C
and DT Unit 6D
Possible teaching activity
Practical - IT Task 2
Design a simple lighthouse using a
bulb, a cardboard tube and a light sensor. Write a procedure (My Blocks) to make
the bulb flash every second. Ask the children to draw a diagram of their
lighthouse and show where the wires are plugged into the RCX. Allow them to test
and amend their procedures. Now ask them to use the light sensor to make the
sequence occur when it is dark and not when it is light (i.e. introducing the
light sensor into the circuit and control system).
Children who find this work easy
could vary the sequence of flashes (e.g. four flashes in two seconds, one second
break and repeat).
Gifted and Talented children
Pupils could research flashing
sequences of lighthouses around the UK and simulate their flashing sequences.
Project 2 Outline - A
Lighthouse
Research... lots of background
information can be found on the Internet, including instructions to make models
entirely from cardboard. The model detailed below is made from a range of found
materials and requires only basic tools.
Excellent website - http://www.musiccorner.co.uk/Lighthouses.htm
Design brief
As set out above under 'possible
teaching activity'
Extension work - rotating
reflector
Parts required: motor with
gearbox.
To improve the performance of the
lighthouse, add a rotating reflector.
Example solution
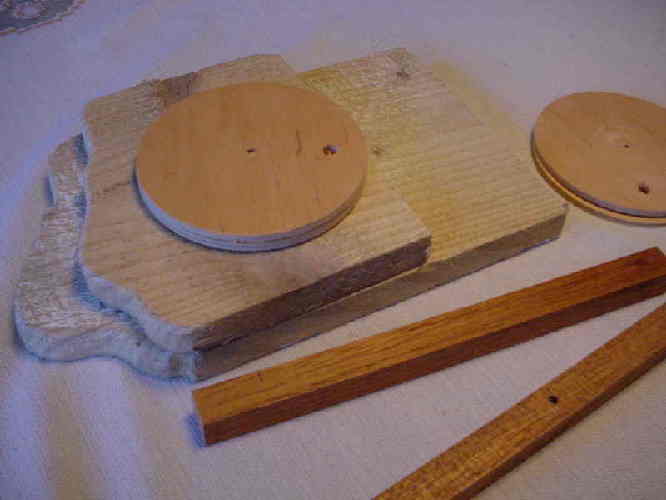
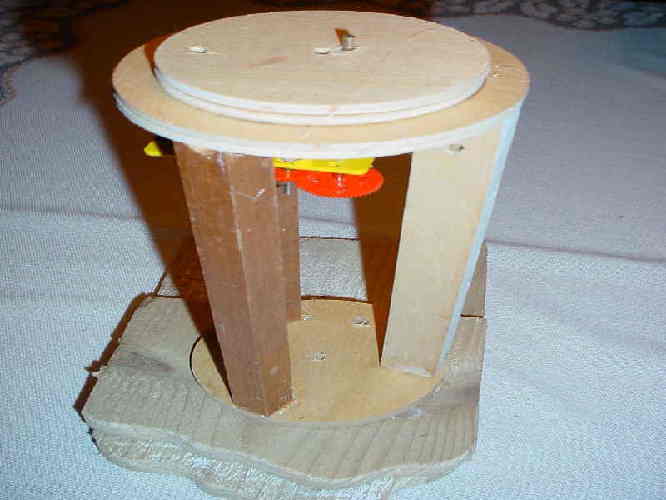
A simple framework was constructed
from wood strip and discs. hot glued joints. All joints were hot glued.
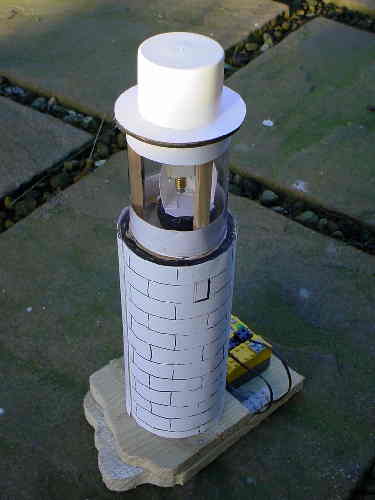
Painted white card was used as an outer skin and was glued to the framework.
Note the motor assembly in step 2 below to rotate the reflector.
Step 1
- Base with discs +
uprights
Step 2 - Uprights
assembled
Completed lighthouse
Alternative model
A simple low tech lighthouse could be
made from a cardboard tube and a lemonade bottle. Example under construction!